

An equalizer adjusts sound frequencies to enhance audio quality, ensuring balanced and polished sound. It’s a powerful tool for refining mixes, addressing imbalances, and tailoring sound to specific music styles.
Understanding equalizer frequencies is crucial for music production, helping to tighten sound and reduce unwanted resonance. It allows for creative adjustments, ensuring clarity and depth in your audio productions.
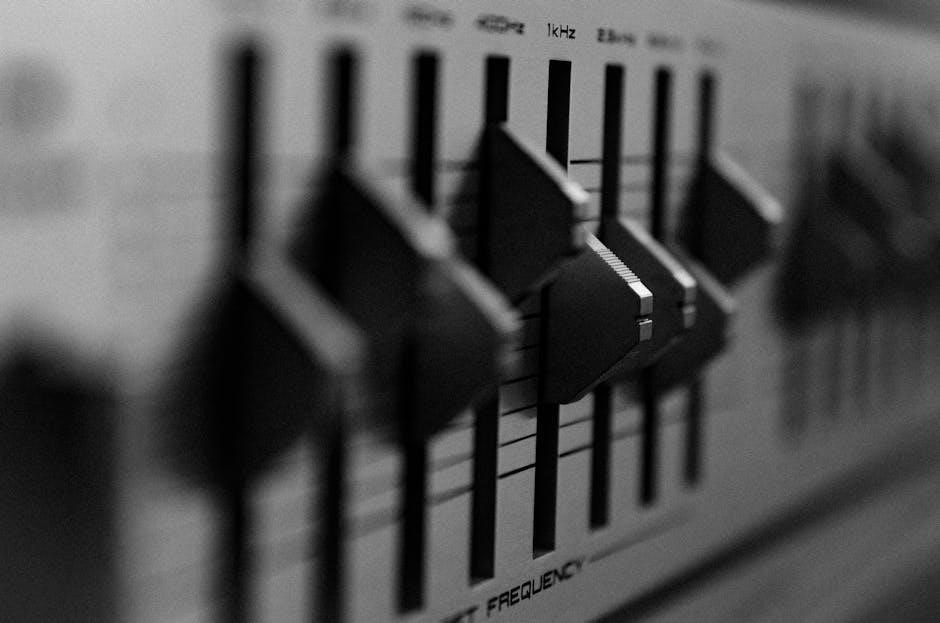
1.1 What is an Equalizer?
An equalizer (EQ) is a tool used in audio processing to adjust the balance of different frequency bands within an audio signal. It allows users to boost or cut specific frequencies, enhancing or reducing certain parts of the sound. This makes it essential for refining audio quality, addressing imbalances, and achieving the desired sonic characteristics. Equalizers can be used in music production, live sound engineering, and even consumer audio devices to tailor the sound to specific preferences or music styles. By manipulating frequencies, an EQ helps create a more polished and professional audio output, whether it’s for vocals, instruments, or entire mixes. Understanding how to use an equalizer effectively is a fundamental skill for anyone working with audio.
1.2 Importance of Equalization in Music Production
Equalization is a cornerstone of music production, enabling artists and engineers to refine and balance audio elements. By adjusting specific frequency ranges, EQ helps create a polished and professional sound. It addresses imbalances, such as excessive bass or harsh highs, ensuring clarity and depth in mixes. Proper equalization prevents frequency clashes between instruments and vocals, allowing each element to occupy its rightful space. It also enhances the emotional impact of music by highlighting key features like vocal presence or rhythmic punch. Additionally, EQ ensures consistency across different playback systems, making the mix sound great on any device. Mastering equalization is essential for achieving a cohesive and engaging final product, making it an indispensable tool in modern music production.

Understanding EQ Basics
Understanding EQ basics involves manipulating frequency ranges to refine sound. EQ helps balance audio by boosting or cutting specific frequencies, enhancing clarity and presence; Essential tools for professional mixes require mastering these fundamentals.
2.1 Frequency Spectrum Overview
The frequency spectrum is the audible range of sound, spanning from 20 Hz to 20,000 Hz. It is divided into low, mid, and high frequencies. Low frequencies (20 Hz–200 Hz) represent deep bass and rumble, while mid frequencies (200 Hz–2,000 Hz) contain the bulk of instrumental and vocal clarity. High frequencies (2,000 Hz–20,000 Hz) handle brightness, sibilance, and airiness. Understanding this spectrum is crucial for effective equalization, as it allows producers to identify and adjust specific areas of the audio. Each frequency range impacts the overall balance and sonic quality of a mix, making it essential to master EQ techniques tailored to these divisions.
- Low Frequencies (20 Hz–200 Hz): Bass, weight, and depth.
- Mid Frequencies (200 Hz–2,000 Hz): Clarity, body, and presence.
- High Frequencies (2,000 Hz–20,000 Hz): Brightness, definition, and space.
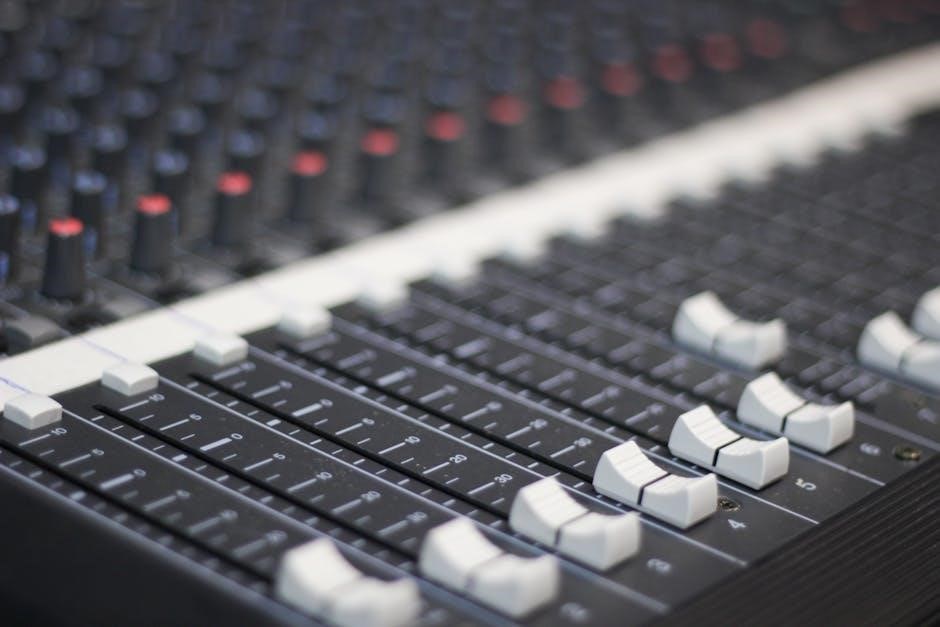
2.2 Types of Equalizers
Equalizers come in various forms, each designed for specific tasks in music production. The most common types include Parametric EQ, Graphic EQ, and Shelving EQ. Parametric EQs offer detailed control, allowing adjustments to frequency, gain, and bandwidth, making them ideal for precise tonal shaping. Graphic EQs feature a series of fixed frequencies with boost or cut capabilities, often used for live sound and quick adjustments. Shelving EQs boost or cut frequencies above or below a set point, useful for enhancing bass or high-end clarity. Additionally, High-Pass Filters (HPF) and Low-Pass Filters (LPF) are used to remove unwanted low or high frequencies, respectively. Each type serves unique purposes, enabling producers to tailor their sound with precision and creativity. Understanding these variations is key to mastering equalization techniques.
- Parametric EQ: Detailed frequency, gain, and Q adjustments.
- Graphic EQ: Fixed frequencies for broad tonal shaping.
- Shelving EQ: Boost or cut at specific frequency ranges.
- HPF/LPF: Remove unwanted low or high frequencies.

Essential EQ Techniques
Mastering EQ involves boosting and cutting frequencies to balance audio elements. Techniques like high-pass and low-pass filters remove unwanted frequencies, while parametric EQ offers precise adjustments for detailed sound shaping.
- Boosting: Enhances specific frequencies for clarity.
- Cutting: Reduces unwanted frequencies to clean up the mix.
- HPF/LPF: Removes unnecessary low or high frequencies.
3.1 Boosting Frequencies
Boosting frequencies is a fundamental EQ technique used to enhance specific parts of the audio spectrum. By increasing the amplitude of certain frequencies, elements like vocals, drums, or guitars can gain clarity and presence. A subtle boost (1-3 dB) often improves definition, while larger boosts (5-10 dB) can create dramatic effects. For example, boosting around 100-200 Hz adds warmth to basslines, while boosting 5 kHz-8 kHz enhances vocal presence. However, overboosting can lead to imbalance or harshness, so moderation is key. Boosting is particularly useful for making sounds cut through a dense mix or correcting tonal imbalances. Always listen carefully and adjust in context to ensure the boost complements the overall mix.
3.2 Cutting Frequencies
Cutting frequencies is an essential EQ technique for reducing unwanted resonance or clutter in an audio signal. By attenuating specific frequency ranges, you can create space in a mix and improve clarity. For instance, cutting low-end frequencies (below 80 Hz) on vocal tracks removes rumble, while cutting mid frequencies (250-500 Hz) can reduce muddiness in instruments. High-frequency cuts (above 8 kHz) are often used to soften harsh cymbals or sibilant vocals. Cutting is also useful for correcting imbalances, such as taming overly bright guitars or reducing boxiness in drums. When cutting, use narrow Q values for precise adjustments and broader Q values for general tonal shaping. Over-cutting can lead to a thin or lifeless sound, so subtlety is key. Always reference the mix as a whole to ensure cuts enhance the overall balance.
3.3 High-Pass Filter (HPF)
A High-Pass Filter (HPF) is an essential EQ tool used to remove low-frequency content below a specified cutoff point. It allows high frequencies to pass through while attenuating the low-end rumble, hum, or unwanted resonance. HPFs are particularly useful for cleaning up audio signals, such as vocals, drums, or instruments, by eliminating sub-bass frequencies that don’t contribute to the sound’s clarity. For example, applying an HPF to a vocal track at around 80-100 Hz can remove breath noise and room ambiance. When using an HPF, choose the cutoff frequency carefully to preserve the natural tone of the sound. A steeper slope (e.g., 24 dB/octave) provides a more dramatic cut, while a gentler slope (e.g., 6 dB/octave) offers a subtler adjustment. Always listen to the context of the mix to ensure the HPF enhances the overall balance without over-cutting. This technique is crucial for creating a tighter, more polished mix.
3.4 Low-Pass Filter (LPF)
A Low-Pass Filter (LPF) is a powerful EQ tool designed to attenuate high-frequency content above a specified cutoff point while allowing low frequencies to pass through. This makes it ideal for controlling excessive high-end brightness or noise in audio signals. For instance, applying an LPF to a cymbal-heavy drum track can help reduce harshness and create a smoother sound. When using an LPF, it’s important to select the cutoff frequency carefully to maintain the natural character of the sound. A steeper slope (e.g., 24 dB/octave) provides a more aggressive high-end roll-off, while a gentler slope (e.g., 12 dB/octave) offers a more subtle adjustment. LPFs are also useful for carving out space in a mix by limiting the high-frequency resonance of instruments like bass guitars or synths; Always A/B your settings to ensure the LPF enhances the mix without overly dulling the sound. This technique is essential for achieving balance and clarity in your productions.

EQ Frequency Charts
EQ frequency charts are visual guides that map out frequency ranges for instruments and vocals, helping producers make precise adjustments to enhance mix clarity and balance effectively.

4.1 Vocals
Vocal equalization is critical for achieving clarity and presence in a mix. The human voice typically resides between 100 Hz and 8 kHz. To enhance vocal clarity, boost frequencies around 1-4 kHz for presence and cut muddiness below 200 Hz. For brightness, gently boost 5-8 kHz. Sibilance can be tamed by reducing 5-7 kHz. Low-end warmth is added around 80-200 Hz, while midrange (250-500 Hz) adjustments balance boxiness. High-pass filtering above 80 Hz removes rumble. Subtle boosts at 2-3 kHz add intimacy. EQing vocals requires precision to maintain natural tone while addressing mix conflicts. Reference genre-specific vocal styles for tailored adjustments. Always use high-quality EQ tools for transparent adjustments. Proper vocal EQ ensures vocals sit well in the mix, enhancing emotional impact and intelligibility. Regular practice refines your ability to identify and correct frequencies effectively.
4.2 Drums
Drum equalization focuses on enhancing clarity and punch while addressing frequency conflicts. For the kick drum, boost around 60-80 Hz to add weight and 100-200 Hz for body. Cut frequencies below 60 Hz to eliminate low-end muddiness. The snare drum benefits from a boost in the 100-200 Hz range for body and 5-8 kHz for crispness. High frequencies (10-15 kHz) can be added to cymbals and hi-hats for brightness. Tom drums are typically boosted between 100-300 Hz for warmth and clarity. Overhead mics often require a high-pass filter above 100 Hz to reduce low-end rumble. Cutting frequencies around 250-500 Hz can reduce muddiness in drum mixes. Proper drum EQ ensures each element sits well in the mix, providing a balanced and dynamic sound. Experiment with subtle adjustments to maintain a natural tone while addressing specific frequency issues. Regular practice helps refine your drum EQ skills for polished results. Always use high-quality EQ tools for precise adjustments.
4.3 Guitars
Guitar equalization is crucial for achieving clarity and definition in a mix. For electric guitars, boosting frequencies between 2.5-5 kHz enhances bite and presence, while cutting 200-500 Hz can reduce muddiness. Acoustic guitars benefit from a boost in the 200-300 Hz range for warmth and a high-end lift above 5 kHz for articulation. High-pass filtering below 100 Hz helps eliminate low-end rumble. For lead guitars, a subtle boost around 3-4 kHz can make them stand out. Rhythm guitars often require a balanced midrange, with slight cuts in the 500 Hz-1 kHz range to avoid clashing with other instruments. Experiment with narrow boosts and cuts to refine tonal nuances. Always consider the guitar type and playing style when applying EQ. Proper equalization ensures guitars sit well in the mix, maintaining their harmonic richness and clarity. Regular practice helps develop an ear for optimal guitar EQ settings. Use high-quality EQ tools for precise adjustments.
4.4 Bass
Bass equalization is essential for establishing the low-end foundation in a mix. The primary frequencies for bass instruments like the electric bass or synth bass lie between 30-100 Hz, which define the fundamental notes. Boosting around 60-80 Hz adds punch and clarity, while cutting below 30 Hz removes unwanted rumble. For a tighter sound, apply a high-pass filter around 30-50 Hz. To enhance warmth and presence, gently boost frequencies between 100-300 Hz. Be cautious with boosts above 300 Hz, as they can make the bass sound muddy. For modern, deep bass sounds, subtle boosts around 50-60 Hz can add weight. Always listen in context with the full mix to ensure the bass complements the kick drum and other low-end elements. Proper EQ ensures the bass is felt and heard clearly without overpowering the mix. Regular adjustments and referencing commercial tracks can refine your bass EQ skills.
4.5 Keyboards
When equalizing keyboards, it’s important to tailor your approach to the specific type and role in the mix. For grand pianos, aim for a natural sound by ensuring clarity in the high frequencies (5k-10k Hz) and warmth in the mids (300-500 Hz). Synthesizers often require attention to their low-end weight (30-100 Hz) and high-end brightness (5k-10k Hz). Cut mud in the low mids (200-300 Hz) for clarity. Use boosts in the high mids (2k-5k Hz) for presence and in the highs for brightness. Stereo imaging can enhance spatiality by panning and applying different EQs to each side. Automate EQ for dynamic changes, like brightening in choruses. Balance with other instruments by carving space in the low end. Trust your ears and make subtle adjustments for a polished sound. Regular practice and referencing genre-specific tracks refine your technique. Keep adjustments minimal to avoid harshness. EQ keyboards to complement the mix while maintaining their unique character.

Genre-Specific EQ Approaches
Genre-specific EQ approaches optimize mixes for distinct musical styles, ensuring clarity and energy. Each genre requires tailored frequency adjustments to enhance its unique characteristics and maintain balance.
5.1 Rock Music
In rock music, equalization plays a crucial role in creating a powerful and balanced sound. Guitars often require boosting in the mid-high frequencies (2-4 kHz) to enhance clarity and bite, while cutting low mids (250-500 Hz) can reduce muddiness. Drums benefit from accentuating the kick drum’s low-end punch (60-80 Hz) and the snare’s crisp attack (1-2 kHz). Vocals should be prominent, with boosts in the presence range (2-5 kHz) to cut through the mix. Bass guitars need a tight low-end (50-100 Hz) without overwhelming the track. Additionally, high-pass filtering (HPF) on cymbals and overheads can clean up the high-frequency spectrum. For harder rock or punk, aggressive EQing in the high-mids (2-3 kHz) on guitars and vocals can create a more aggressive tone. Balancing these elements ensures a cohesive mix that retains rock’s signature energy and clarity.
5.2 Hip-Hop and Electronic Music
In hip-hop and electronic music, equalization is essential for creating a tight, punchy, and polished sound. Basslines often require boosting in the low-end frequencies (60-100 Hz) to emphasize the sub-bass, while cutting mids (250-500 Hz) can eliminate muddiness. Kick drums benefit from a strong low-end punch (80-100 Hz) and a slight high-end attack (5-8 kHz) for clarity. Hi-hats and cymbals are typically brightened in the high frequencies (5-10 kHz) to enhance their presence. Vocals in hip-hop are often boosted in the presence range (2-4 kHz) to ensure they cut through the mix. In electronic music, synths and pads may need high-pass filtering (HPF) to remove unnecessary low-end rumble. Sidechaining can also help balance competing frequencies, ensuring a clean and dynamic mix. Balancing these elements creates a modern, vibrant sound tailored to these genres.
5.3 Jazz and Acoustic Music
In jazz and acoustic music, equalization focuses on maintaining natural tones while enhancing clarity. Acoustic guitars benefit from a slight boost in the midrange (200-800 Hz) for warmth and clarity, while a gentle high-end lift (5-8 kHz) can add brightness without harshness. Saxophones and brass instruments often need a presence boost (2-4 kHz) to cut through the mix. Double basses are typically boosted in the low-end (60-150 Hz) for depth but may require a mid-cut (250-500 Hz) to avoid muddiness. Vocals in jazz are usually eq’d to sit naturally, with a focus on the midrange (1-4 kHz) for articulation. Hi-hats and cymbals are often high-pass filtered (HPF) to remove low-end rumble. Room miking in live recordings may require a gentle high-end boost (5-8 kHz) to capture ambiance. These techniques ensure a balanced, organic sound that preserves the integrity of acoustic instruments.

5.4 Classical Music
In classical music, equalization is used to preserve the natural timbre of instruments while enhancing clarity and spatiality. Strings like violins and cellos often benefit from a subtle boost in the midrange (200-500 Hz) to enhance warmth and articulation. Brass instruments, such as trumpets and trombones, may require a presence boost (2-4 kHz) to improve projection. Pianos are typically eq’d to maintain their dynamic range, with a gentle lift in the midrange (300-800 Hz) for clarity and a high-end boost (5-8 kHz) for brightness. Woodwinds like flutes and clarinets are often brightened with a high-end lift (5-8 kHz) to enhance their airy quality. Choirs and vocal ensembles may need a midrange boost (1-4 kHz) for articulation. Low-end frequencies (50-150 Hz) are carefully managed to maintain a tight, balanced sound, ensuring that the ensemble’s full harmonic range is preserved without muddiness.

Advanced EQ Strategies
Advanced EQ strategies involve refining spectral balance, resolving frequency conflicts, and enhancing spatiality to achieve polished mixes. Techniques include precise boosts, cuts, and automation for dynamic control and depth.
6.1 Resolving Frequency Conflicts
Resolving frequency conflicts is crucial for achieving clarity in a mix. When multiple instruments occupy the same frequency range, muddiness occurs. To address this, identify overlapping frequencies using EQ analysis tools. Cutting clashing frequencies in one or more tracks creates space. For example, if a vocal and a guitar are competing in the midrange (200 Hz–500 Hz), subtly reduce the guitar’s presence in that area. Boosting complementary frequencies can enhance separation. Use high-pass or low-pass filters to limit instruments to their essential ranges. Automation can dynamically adjust EQ settings based on the arrangement. Reference genre-specific EQ charts to guide decisions. Always make subtle adjustments to maintain a natural sound. Regularly A/B compare your mix to ensure clarity without sacrificing tonal balance. Resolving frequency conflicts ensures a cohesive and professional-sounding mix.
6.2 Using EQ Automation
EQ automation allows for dynamic adjustments to frequencies during a track, enhancing the listening experience. By automating EQ settings, you can address frequency imbalances that change over time. For example, a vocal that sits well in a verse may need a frequency boost in the chorus. Automation enables precise control, ensuring consistent tone across variations in performance. Use automation to gradually adjust the low-end of a bassline or brighten a snare as the song builds. This technique is also useful for resolving frequency conflicts between elements that only clash at specific moments. Start by identifying key sections where adjustments are needed, then create automation curves to implement changes smoothly. Regularly review and refine your automation to maintain a balanced mix. This approach adds depth and ensures each element shines in its rightful place, elevating the overall production quality. Automation is a powerful tool for polished, engaging mixes.
6.3 Stereo Imaging with EQ
Stereo imaging with EQ involves using equalization to enhance the spatial placement of sounds in a mix. By adjusting frequencies, you can create a wider and more immersive soundstage. Boosting or cutting specific frequencies in the left and right channels can help position instruments more precisely. For example, adding a high-frequency boost to a piano on the left side and a low-frequency boost on the right can create a sense of width. Mid and side processing allows you to target frequencies in the center or sides of the stereo field, enhancing clarity and separation. This technique is especially useful for placing vocals, guitars, and synths in distinct spaces. Experiment with subtle frequency adjustments to avoid imbalance. Proper stereo imaging with EQ can make a mix feel more dynamic and engaging, giving listeners a sense of depth and dimension. Use this technique sparingly to maintain a cohesive and natural soundstage.
Mastering equalizer frequencies enhances your music production skills. Practice subtle adjustments, use EQ purposefully, and reference frequency charts for clarity. Avoid over-EQing and maintain balance for a polished mix.
7.1 Final Thoughts
Equalizer frequencies are a powerful tool in music production, allowing precise control over sound. Understanding the frequency spectrum and applying targeted adjustments can elevate your mixes. Remember, EQ is both corrective and creative—use it to fix imbalances and enhance desired elements. Always trust your ears and make subtle, intentional moves. Referencing EQ charts for vocals, drums, and instruments can guide your decisions but don’t rely solely on them. Practice regularly to develop your listening skills and intuition. Whether boosting highs for clarity or cutting lows for tightness, balance is key. Avoid over-EQing, as it can lead to unnatural results. Finally, use filters to remove unwanted frequencies and maintain a clean mix. With patience and practice, mastering EQ techniques will become second nature, helping you achieve professional-sounding productions consistently.
7.2 Best Practices for EQ Usage
When using an equalizer, it’s essential to follow best practices to achieve optimal results. Always start with subtle adjustments, as drastic changes can disrupt the balance of your mix. Use EQ to correct imbalances rather than completely reshaping a sound. Reference tracks from your genre to ensure your adjustments align with professional standards. Avoid over-EQing, as it can lead to unnatural results. Use automation to dynamically adjust frequencies during different parts of a track. Regularly bypass EQ plugins to ensure your changes are beneficial. Clean up unwanted frequencies with high-pass and low-pass filters. Monitor your mix on different systems to verify consistency. Lastly, take breaks to avoid ear fatigue, as fresh ears make better mixing decisions. By adhering to these practices, you’ll use EQ effectively and maintain a polished, professional sound in your productions.